You will need: scrap fabric, scissors, sewing machine (or needle and thread), pins, scrap felt, short piece of yarn, thick embroidery thread, stuffing
Step 1: Fold fabric in half with wrong side out and cut the shape of mouse you want out, cut enough extra for the seam and pin pieces together
Step 2: Sew around edges leaving the flat end open
Step 3: Turn fabric right side out
Step 4: Cut out 2 small circles for eyes and 2 medium sized half circles for ears from felt. Snip a piece of yarn for a tail
Step 5: Stitch the eyes and ears on, you can use hot glue if you want to for this step
-Tip if you are stitching, roll the body up close to the head to make it easier on yourself
Step 6: Cut 2 2in pieces of thick embroidery thread for the whiskers. Take one piece of tread and knot both ends together creating a circle
Step 7:Go from inside out with the stitch once and snip the loop to create whiskers, repeat on other side
Step 8: Stuff him!
Step 9: Lay your tail inside body and stitch up his booty
Step 10: Let kitty play!
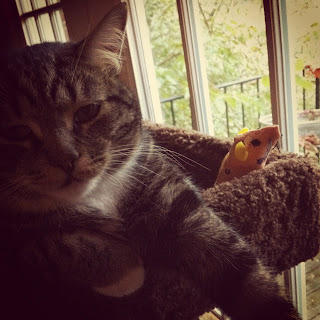
I woke Burli up to give him his toy and he gave me the look..what do you want..so I moved his new friend where he could see him and he understood..
Happy Kitty!
Love, T


No comments:
Post a Comment