Showing posts with label DIY. Show all posts

Friday, May 16, 2014

Spring Burlap Wreath Ideas..

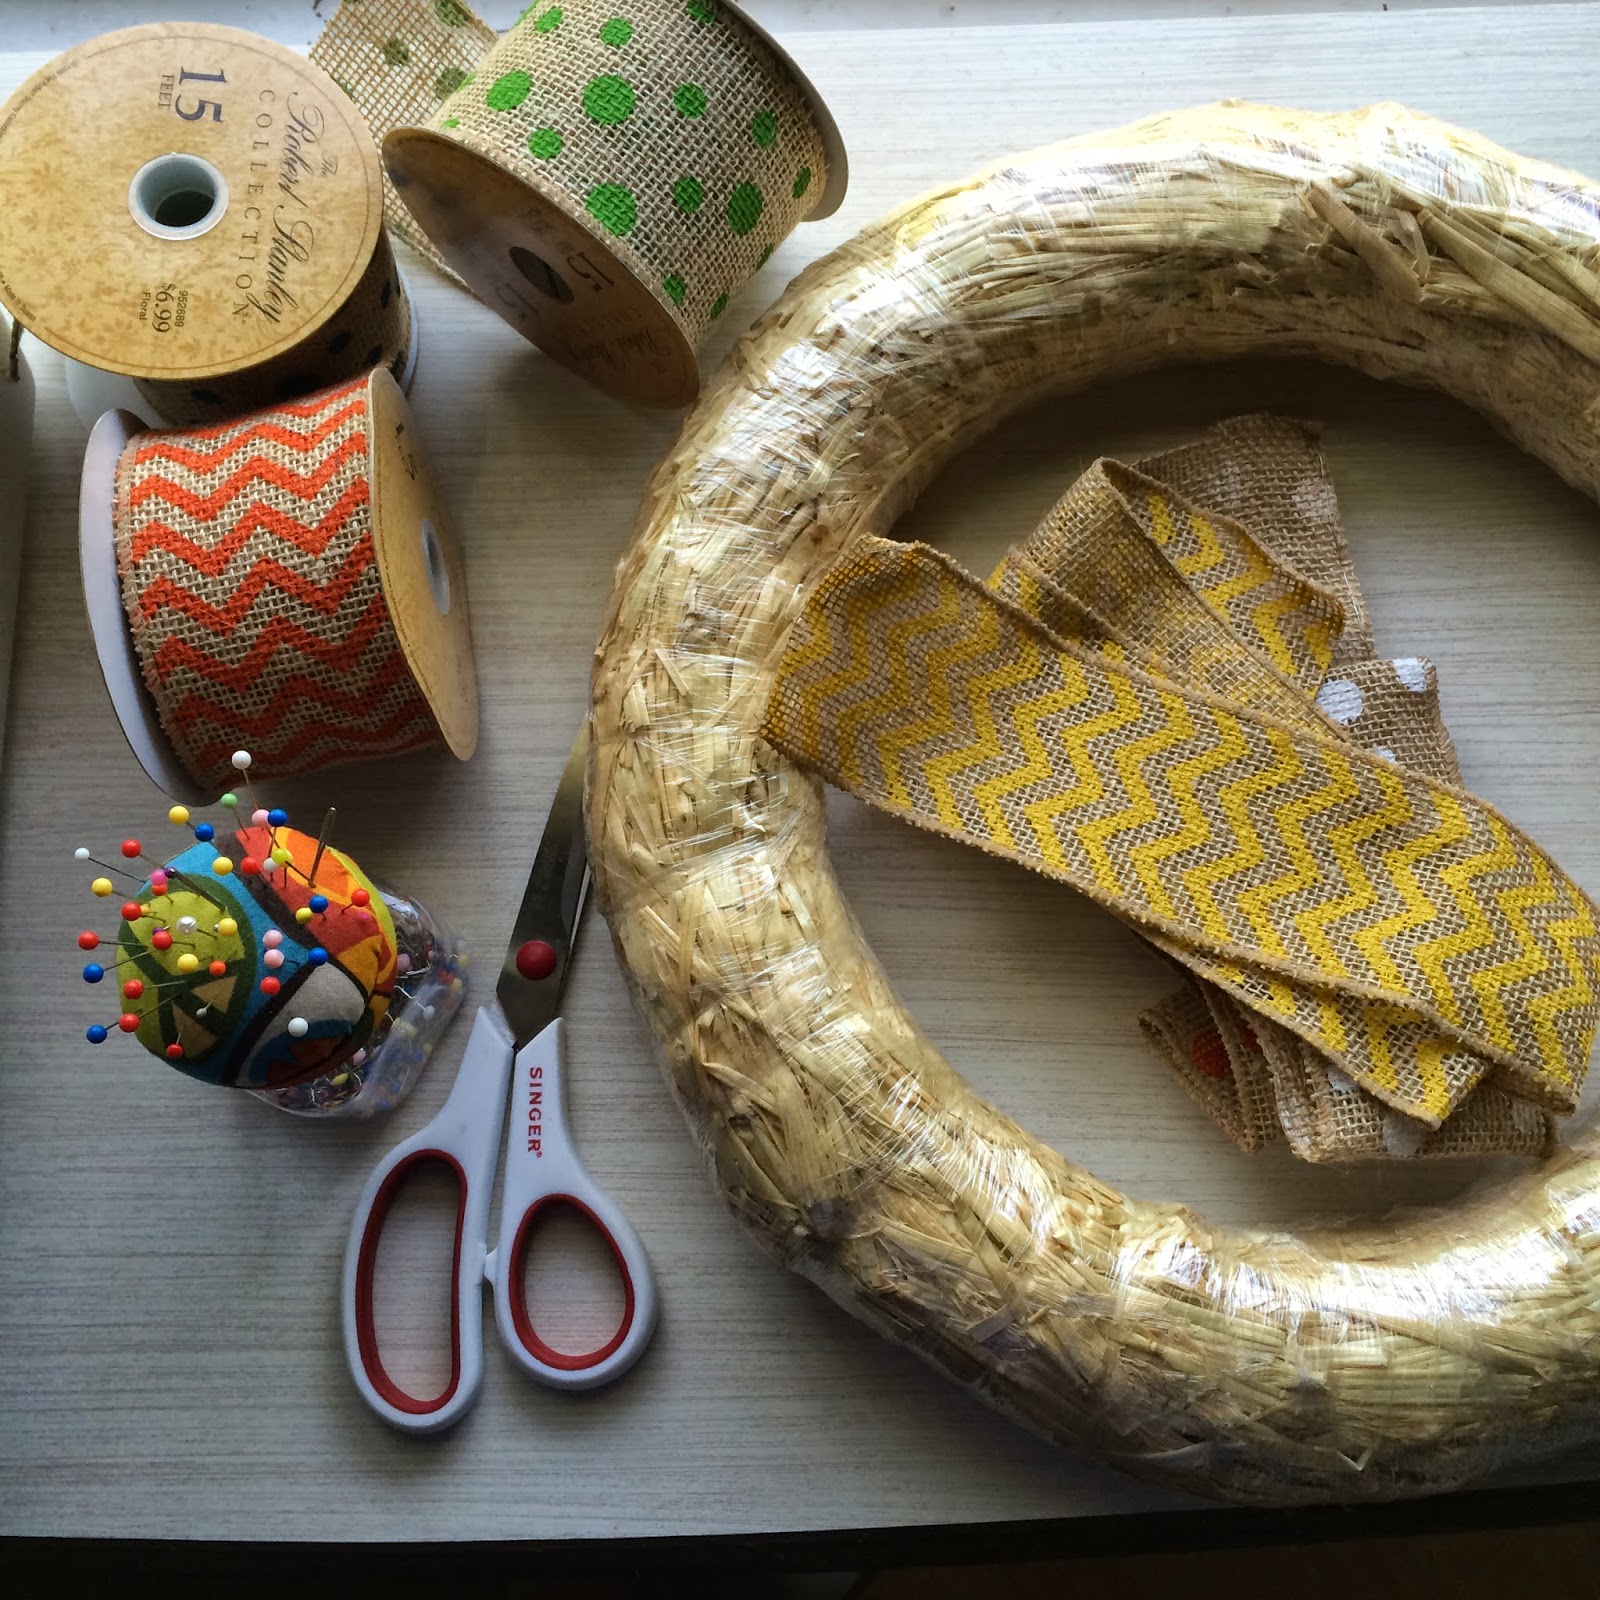
I made my mom and grandma burlap wreaths for Mother's Day and I had some leftover supplies so I decided to make myself a couple:)
You will need:
Burlap Ribbon
Scissors
Pins or hot glue gun
Straw wreath form

 
For this one: simply wrap the ribbon around the wreath form and pin at the beginning and at the end.
Make your bow and pin or glue on! It is that easy!
 
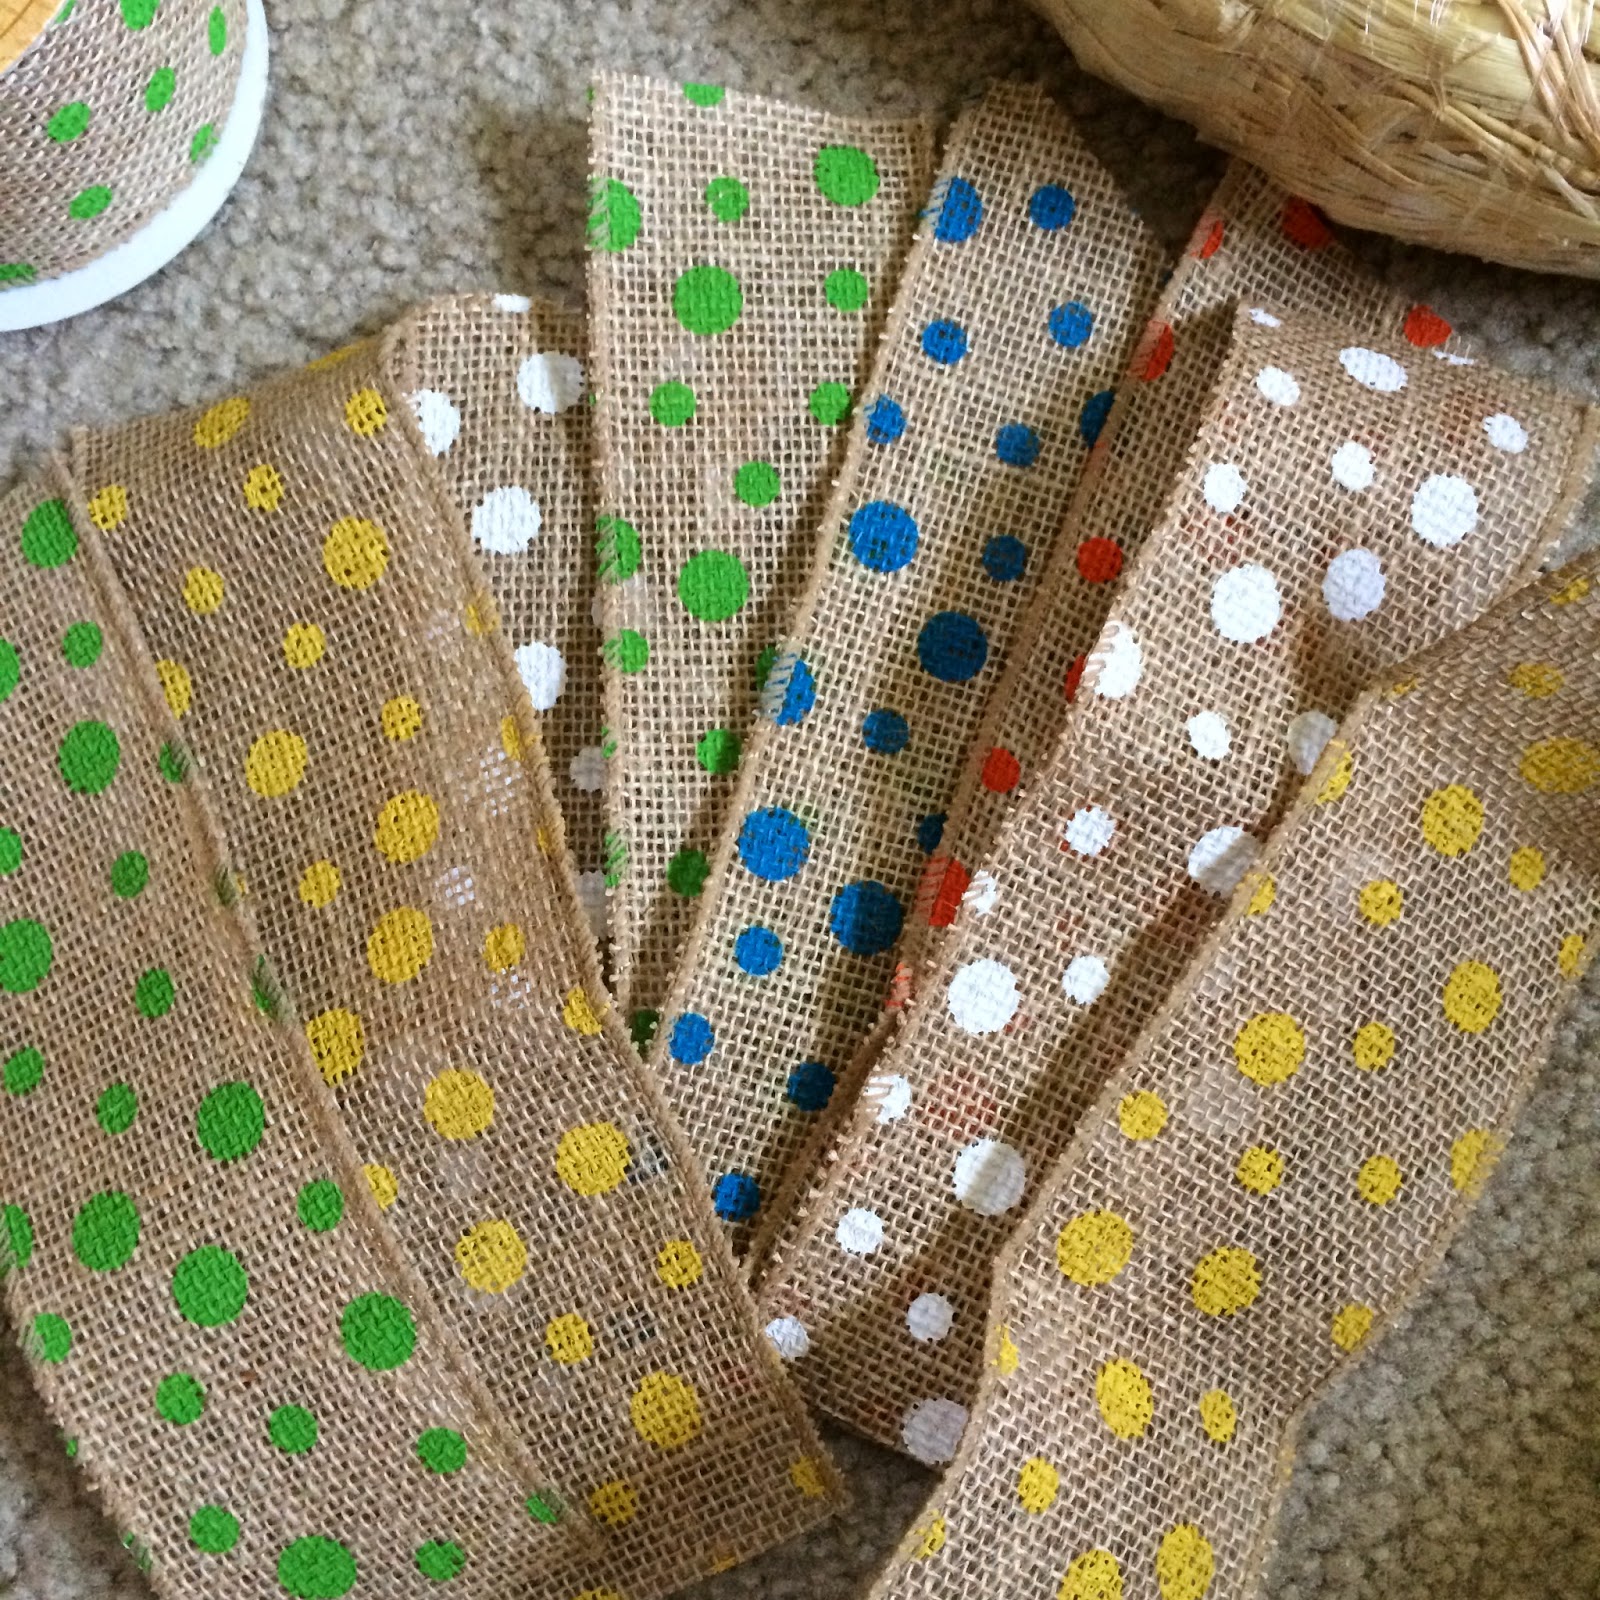
 If you do not have enough of one color to wrap the wreath you can use scraps..

Of course it is always nice to have a helper..
Here are the wreaths I made for Mother's Day..

There are lots and lots of tutorials on these types of wreaths available on Pinterest!
Happy Friday!
Love, T

Tuesday, October 29, 2013

Ghosty Garland

These cute little ghosts are super easy to make and fun for adults and kids:)
All you need is
-white and black felt
-scissors
-fabric glue or low temp hot glue
-sewing machine
-white thread
First decide what size ghost you want and how many you will need to decorate the space you have chosen for them.  Cut out ghost bodies and then cut out their eyes, mouths, bowties, mustaches etc!  The best part about making your own decorations is that you can make them anyway you'd like! Make a little family with a mommy, daddy and babies if you'd like! After you have everything cut out glue the little pieces to the bodies.
Once all your ghosts are assembled just run them through the sewing machine...one right after the next.  Make sure to leave extra thread on the ends to hang them.
Hang and enjoy!

Happy Stitching!
Love, T

Thursday, April 18, 2013

Make your own Hand Towels

All of the warm weather and blooming flowers has put me in the mood for spring and summer inspired projects! I decided to make a couple little hand towels to brighten up our kitchen.


All you need for this project is 1/2 yard of bright fabric, scissors, iron and sewing machine or needle and thread!
Lets go!

Cut your fabric to desired size of hand towel, I just used a linen towel I already had as a pattern and left an extra inch around the entire towel


Double fold, iron and pin down all sides of fabric


Machine sew or hand sew around all edges! Iron if needed. Throw them in the washer.


Hang and enjoy!
I bought 1 yard of fabric so I had leftovers to make...


Now our kitchen is ready for spring:)
Happy Sewing!
Love, T


- Posted using BlogPress from my iPad

Sunday, April 7, 2013

Chalkboard Mason Jars

As you may already know I love mason jars! I also love the whole chalkboard fad, so naturally I love the mason jars with chalkboard labels! I made some for my sister in law's bridal shower yesterday and I really think they turned out adorable! They are all over Pinterest, of course, but I will share how I made mine. After I had all the components they literally took 5 minutes!


Aren't they cute!? I bought the Walmart brand jars because they are flat all the way around so the chalkboard sticker would lay right. I ordered my paper straws, chalkboard stickers and chalkboard pen from a sweet shop on Etsy called Pink Lemonade. She has so many cute options for showers and parties!


After washing and drying all your jars it's as easy as 1,2,3...
1-Put the sticker on the jar
2-Throw a straw in your jar
3-Personalize your cup!


Happy Drinking!
Love, T


- Posted using BlogPress from my iPad

Saturday, February 16, 2013

Wooden Initials Love

On Valentine's Day I decided to make a love inspired piece for our bedroom to bring a simple and sweet touch to the walls. I've seen lots of variation on Pinterest so I made my own version.


All you need is:
-an empty frame-found mine at Hobby Lobby in the clearance section (woot woot)
-two wooden letters-your first initial and your loves first initial
-a heart-I used the lid of a heart shaped box to give the piece some dimension
-paint and paint brush
-hanging apparatus-I used a metal attachment on the frame, just find the middle of the frame and tap it in place with a hammer, for the letters I used sticky hangers and push pins for the heart (in the framing section at Hobby Lobby they have all the hanging equipment you will need)


Paint your letters and heart first and let them dry
While they are drying get your frame ready to hang and hang it in place on your wall
Once your paint is dry hang your letters and heart inside frame


Viola! You have a love inspired piece of art!
Happy Crafting!
Love, T

- Posted using BlogPress from my iPad

Friday, September 21, 2012

Let's Make a Chalkboard

Chalkboard paint has become pretty popular over the past year. I have been wanting to use mine since I got it at the beginning of the summer and I finally decided to break the seal!  I don't know about you but at my place we have an ever evolving grocery list but I never can find a pen or paper close so I store it in my memory..which retains about 75% of that list, if I'm lucky:)  I decided I needed something to write my grocery list on.  Que the chalkboard paint!  I have a very easy project for you today and all you need is..
old framed picture (I got one from Goodwill fro $2)
chalkboard paint
paint for fame
paint brush
chalk
optional: piece of yarn and flat thumb tack
Just paint the glass with chalkboard paint ad paint the frame your color of choice

If you want to always have a piece of chalk available cut a small piece of yarn and tack it to the top of the frame..


Now you can write your grocery list, recipe ideas or just sweet notes to your special someone:)

Happy Creating!
Love, T

Monday, September 3, 2012

Canvas Quote Craft Project

Johnny and I have officially signed our lease for another year which made me want to show our little place some love.  Over the past three years we have moved three times! So I'm pretty excited that we are sticking around here:)  I saw a super easy project on one of my favorite blogs that I wanted to try.  See the inspiration for my project here.  Lets get started!
You will need:
Canvas: choose any size
Paint and paint brushes
Vinyl letters (I found mine at Lowe's)

Pick your colors and decorate your canvas with stripes, zigzag, swirls or whatever your heart desires!  No need to be perfect because you will be painting over it:)
I went with polka dots..well because I love polka dots:)


After you have covered your canvas, let it dry and spell out you quote


Now paint the entire canvas a slightly darker color than your background colors, I wanted to be able to see the polka dots so I used red but feel free to use black or brown for better coverage

Peel your letters off and hang it up to enjoy!

Happy Crafting!
Love, T


Friday, March 16, 2012

DIY: Fabric Covered Flats

With the weather warmin up and the sun coming out I felt uber inspired to take a boring pair of black flats and give them life with bright polka dotted fabric!  You can make them too!


Let's get started!

Gather these supplies:
-pair of flats
-fabric of choice
-mod podge
-scissors
-iron
-fabric glue/ spray adhesive

First cut out four pieces of fabric for each shoe: 2 long rectangles for the sides and one piece for the toe and one for the heel...


Now iron around the edges of each piece..

Using fabric glue and spray adhesive fit your fabric around the shoe
I outlined the fabric with the fabric glue and sprayed the adhesive onto the shoe and pressed fabric against the shoe


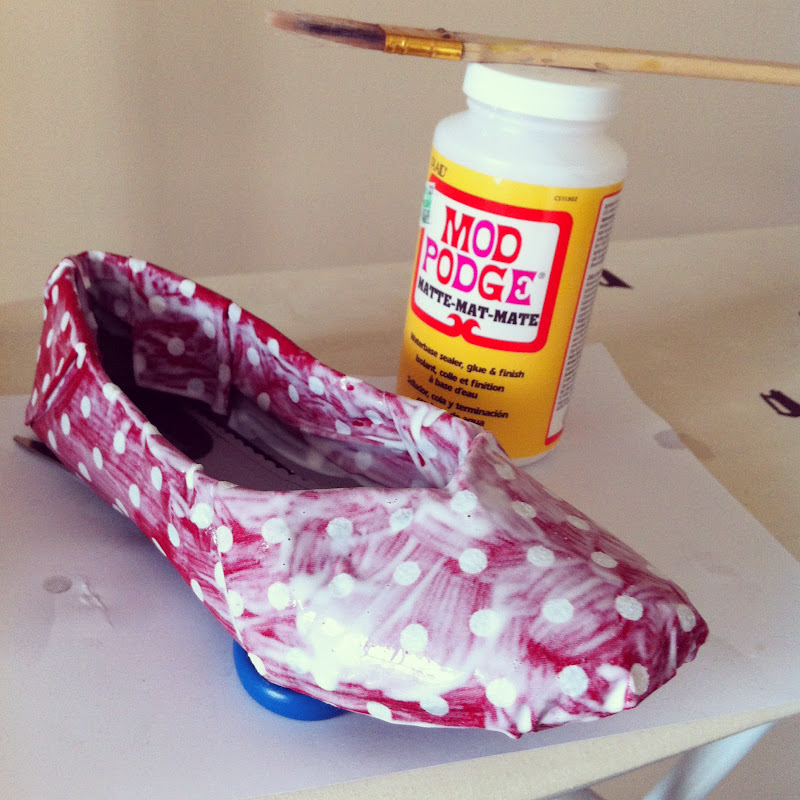
If desired, to give the fabric extra protection, cover with mod podge
After they are dry they are ready to sport around town!

Happy Creating!
Love, T

Thursday, February 9, 2012

DIY: Heart Banner

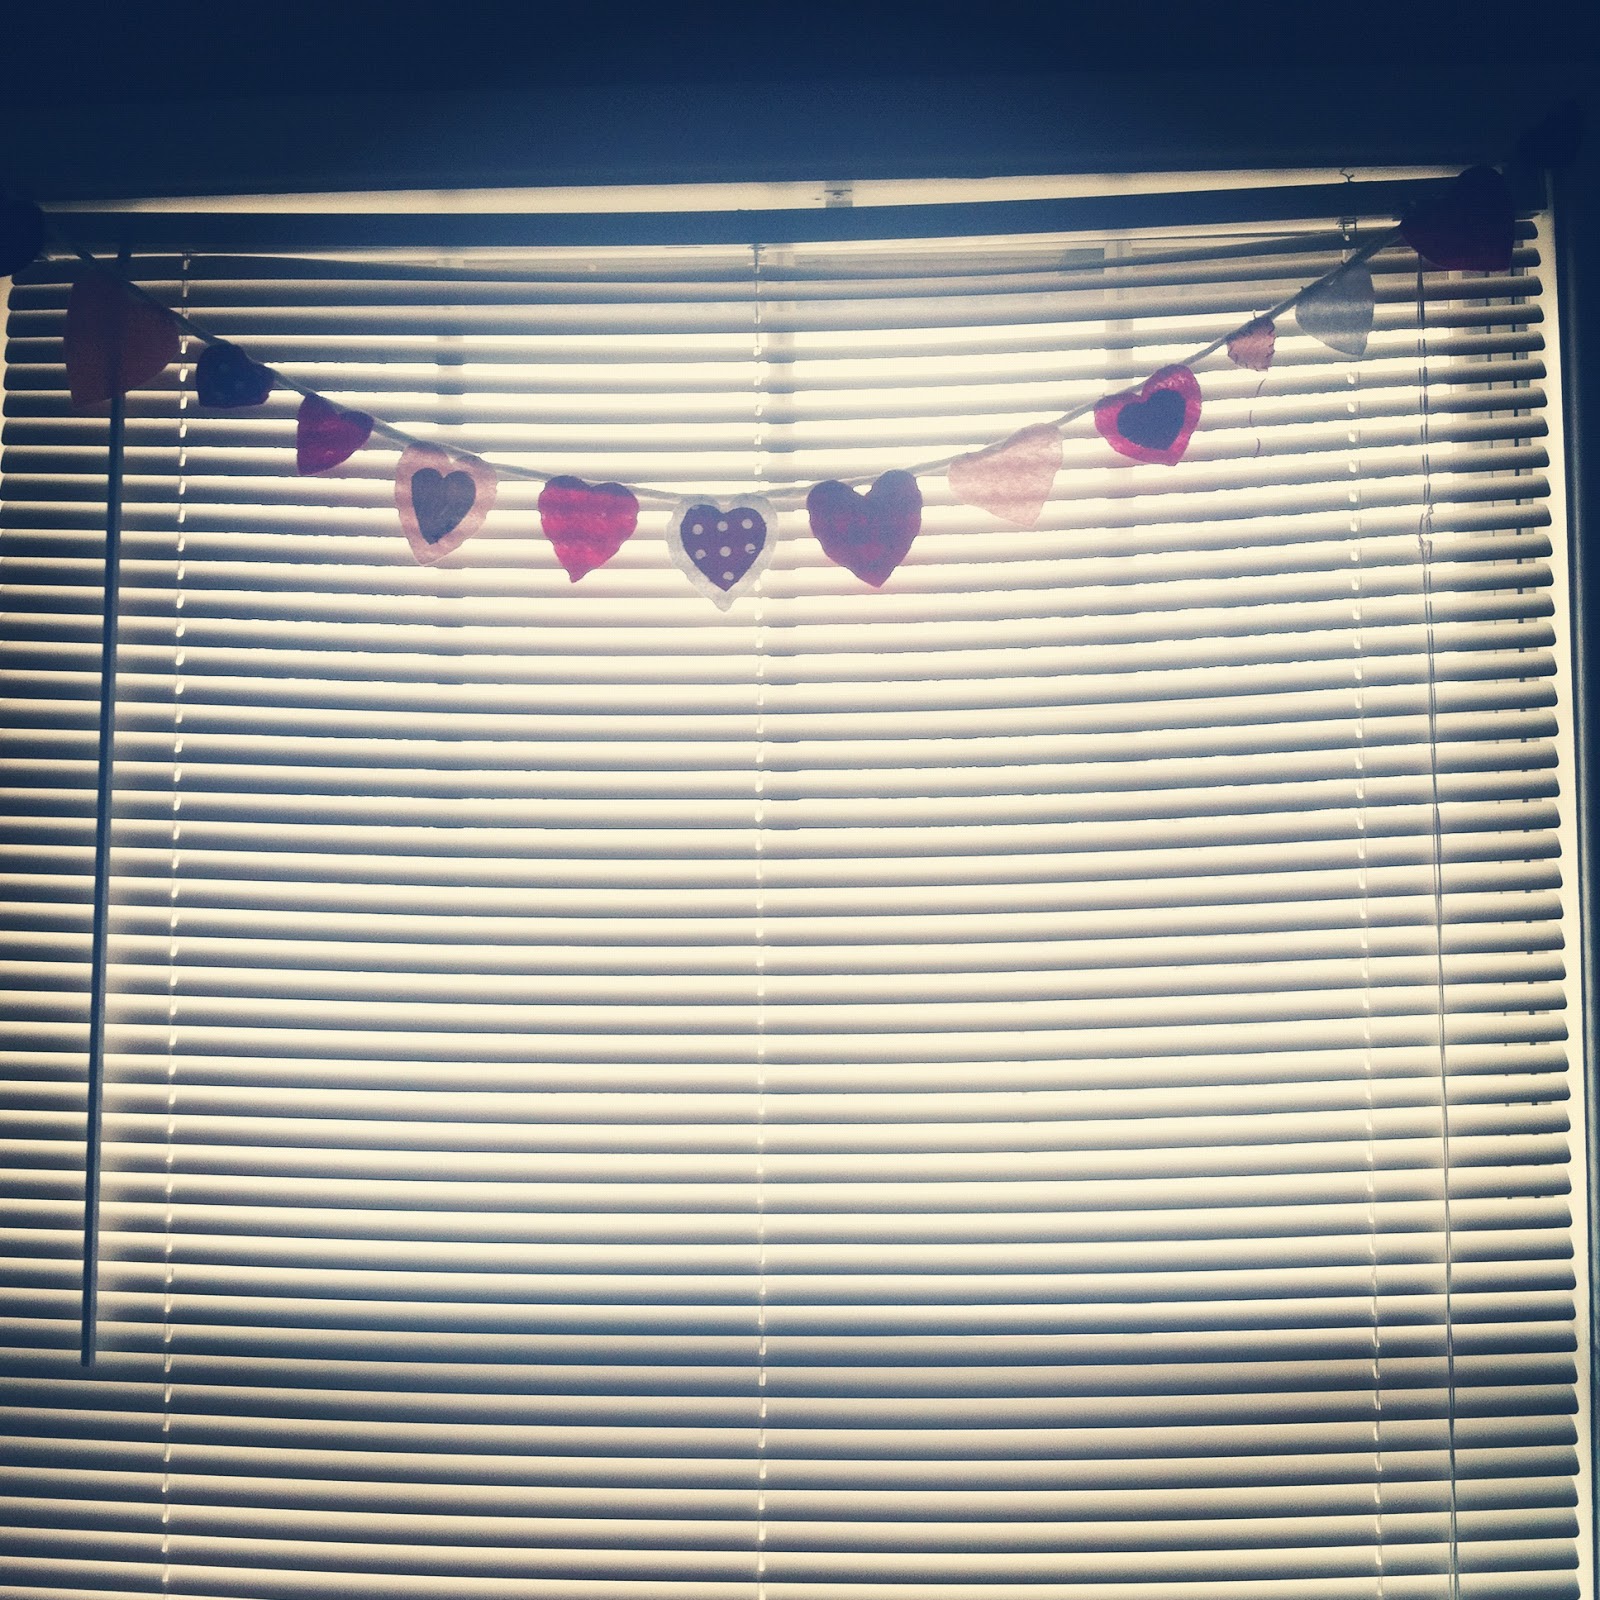
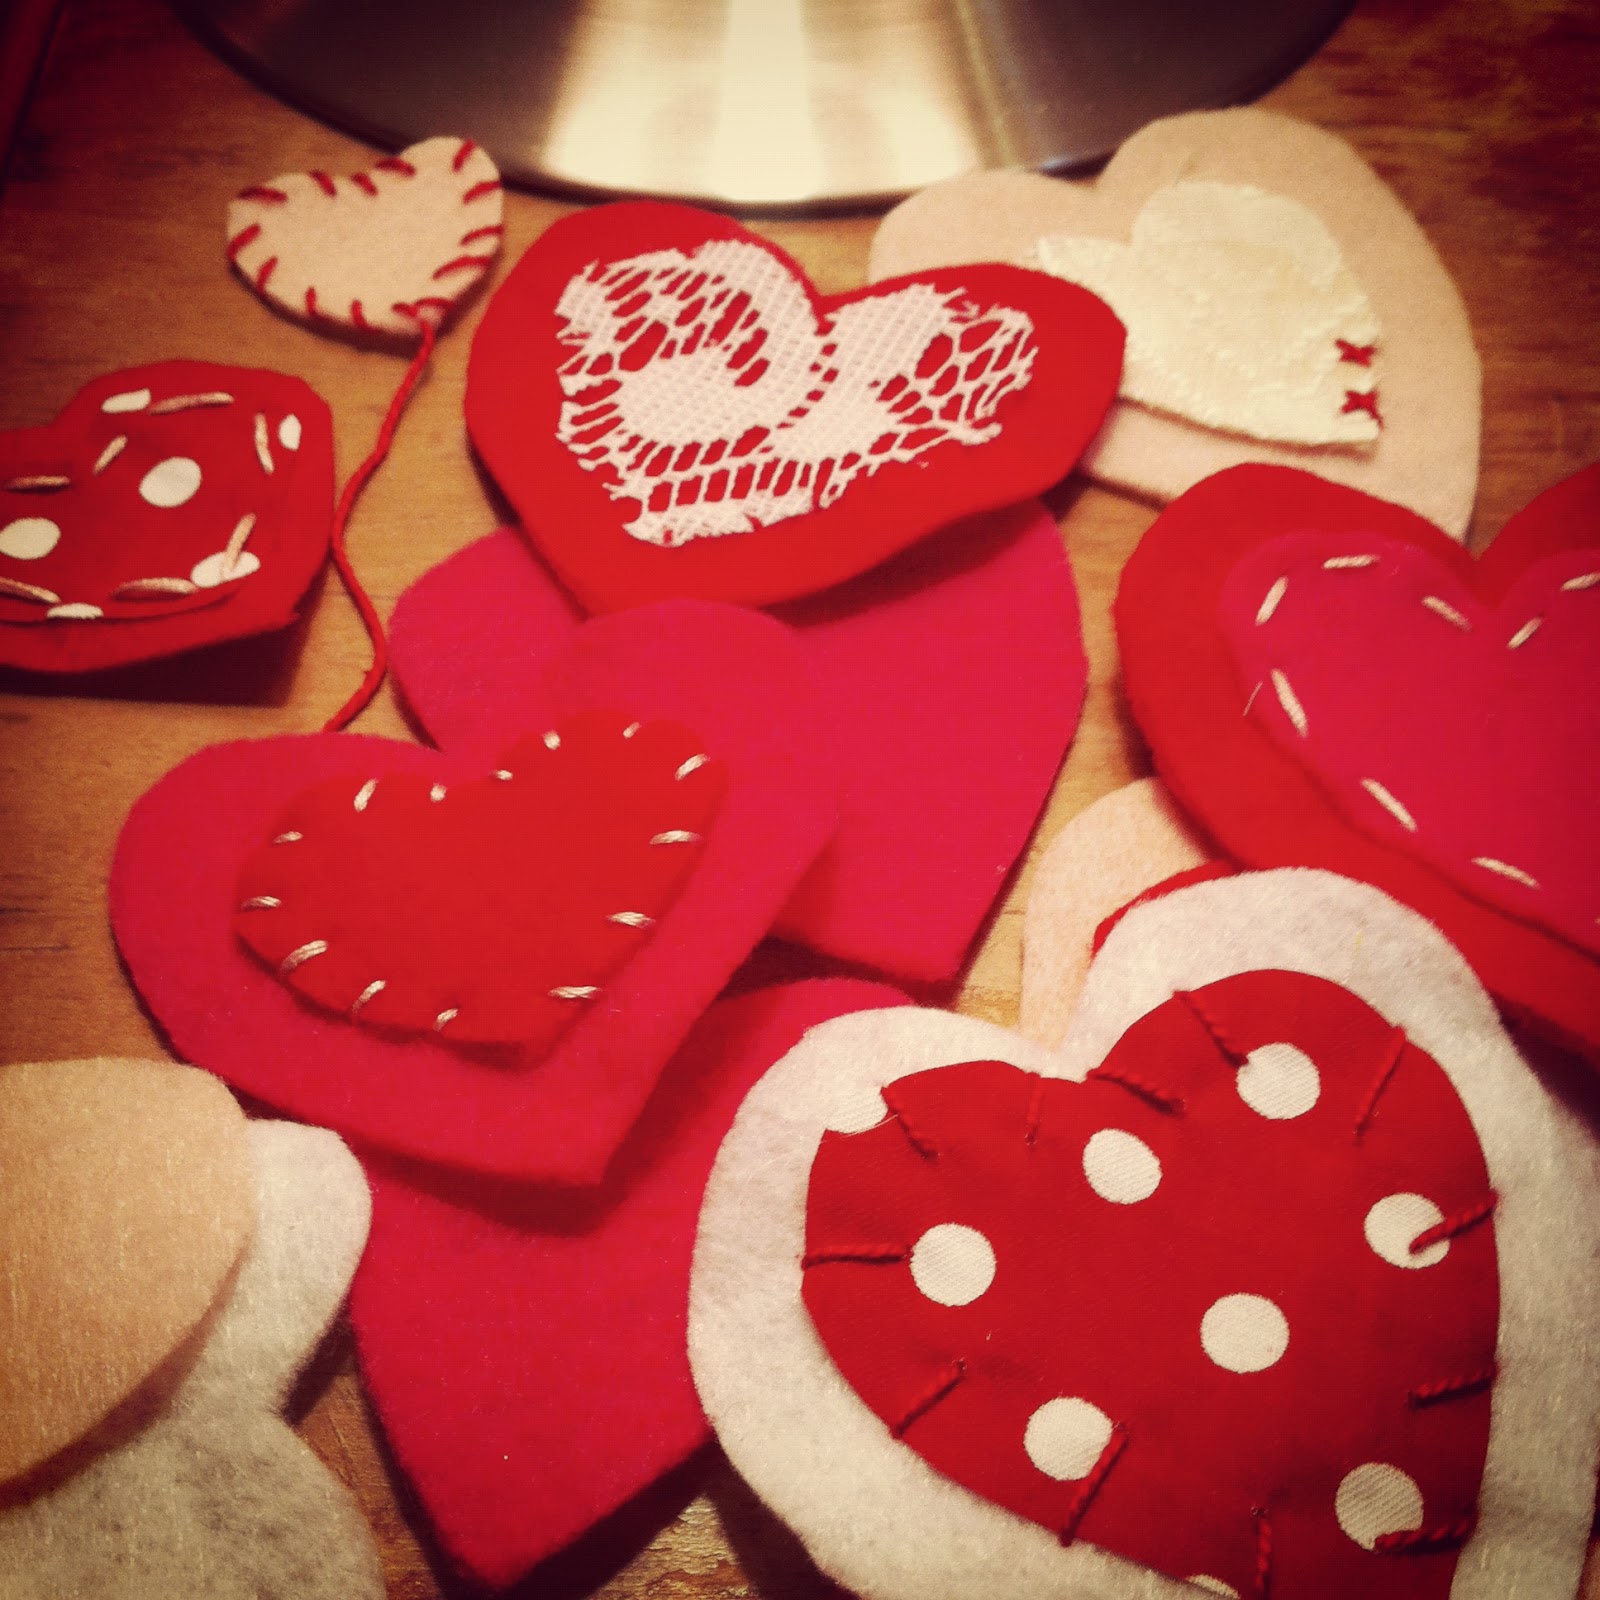
I was in great need of a new window decoration in my sewing room considering there were still paper snowflakes hanging.  I think the cake topper was when Johnny mentioned it:)  So I decided to make a little heart banner to sweeten up my sewing room!  Just grab some felt, scissors, piece of yarn and a neddle and thread and you are ready to begin!


Cut out as many felt hearts as you need and yarn to the desired length for where you plan on hanging your banner

Add sweet touches to your hearts, different stitches, fabric or different color felt layered..


Lay hearts out to get an idea of what order you want them in

Now time to stich them to your yarn..


Continue until all hearts are attached, time to hang your banner!


Happy Crafting!
Love, T